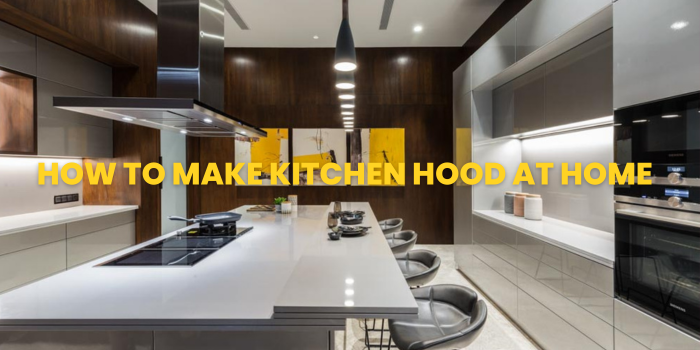
Details of Make Kitchen Hood
Welcome to the world of personalized kitchen design, where your culinary haven can reflect not only your cooking prowess but also your unique style. One element often underestimated in this creative space is the kitchen hood. If you’ve ever dreamed of a kitchen with a bespoke hood that complements both form and function, you’re in the right place. In this hands-on guide, we’ll walk you through the delightful process of fashioning your own kitchen hood – a touch that’s bound to infuse personality into your culinary space without the hefty price tag.
Materials Needed:
- Plywood or MDF sheets
- Jigsaw
- Sandpaper (multiple grits)
- Wood glue
- Clamps
- Screws
- Electric screwdriver
- Range hood insert/fan
- Paint or wood finish
- Cabinet handles/knobs (optional)
Step 1: Unleash Your Creativity in Design
Let’s kick off this journey with a burst of creativity. Your kitchen hood should not only be functional but an aesthetic extension of your style. Grab a sketchpad and envision the ideal shape and size for your hood, factoring in the dimensions of your stove and the overall ambiance of your kitchen. Seek inspiration from diverse sources and craft a design that resonates with you.
Step 2: Precision Cuts with the Jigsaw
Once your design is locked in, it’s time to bring it to life with the jigsaw. Carefully cut the plywood or MDF sheets, ensuring precision. If the prospect of cutting makes you uneasy, many home improvement stores offer cutting services. The goal here is to create distinct pieces for the sides, front, back, and top of your hood.
Step 3: Gentle Assembly with Wood Glue and Clamps
Assemble the pieces using wood glue and clamps, embracing the meditative nature of craftsmanship. Ensure the alignment of your pieces before securing them with screws. This step lays the foundation for your kitchen hood’s structural elegance.
Step 4: Smooth Finishes for a Refined Touch
With the frame in place, it’s time to elevate your creation. Embrace the therapeutic rhythm of sanding, starting with a coarser grit and gradually moving to finer ones for a velvety finish. After smoothing out any rough edges, let your artistic inclinations shine by choosing a paint color or wood finish that harmonizes with your kitchen’s palette.
Step 5: Insert the Heart of Your Kitchen Hood
Integrate the range hood insert or fan into its designated space, adhering to the manufacturer’s instructions. This crucial step ensures not only a stylish design but also efficient ventilation for your culinary endeavors.

Step 6: Secure and Elevate
Mount your bespoke kitchen hood above the stove, ensuring a secure anchor to the wall. Take a moment to revel in your creation and, with a touch of a button, set the fan whirring to life.
Conclusion of Make Kitchen Hood:
Congratulations! You’ve just embarked on a journey that has transformed raw materials into a personalized culinary masterpiece. Your kitchen hood not only serves a practical purpose but also stands as a testament to your creativity. Embrace the uniqueness of your creation, and let it become the focal point that ties together the harmony of your kitchen space. Happy crafting!

