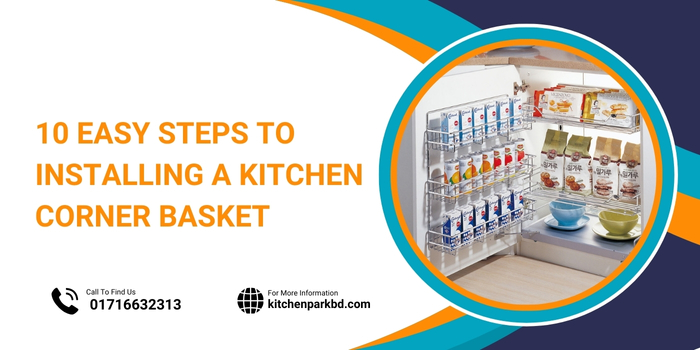
Product Details of Kitchen Corner Basket:
Are you tired of rummaging through cluttered cabinets in search of that elusive spice jar or measuring cup? Kitchen organization can often feel like a daunting task, but fear not! Installing a corner basket is a simple yet effective solution to maximize storage space and keep your kitchen tidy. In this guide, we’ll walk you through 10 easy steps to install a kitchen corner basket, transforming your corner cabinet into a well-organized storage area.
- Gather Your Supplies: Before you begin, make sure you have all the necessary supplies handy. You’ll typically need a corner basket kit (available at most home improvement stores), a power drill, screws, a pencil, a measuring tape, and a level.
- Choose the Right Corner Cabinet: Not all corner cabinets are created equal. Ensure that the cabinet you’ve chosen for installation has enough depth and space to accommodate the corner basket without interfering with the cabinet door’s operation.
- Measure and Mark: Use a measuring tape to determine the dimensions of your cabinet interior. Mark the center of the cabinet floor where you intend to place the corner basket. This will serve as your reference point for installation.
- Position the Corner Basket: Place the corner basket on the cabinet floor, aligning it with the center mark you made. Ensure that the basket sits flush against the walls of the cabinet and does not impede the cabinet door’s closure.
- Secure the Basket: Using a pencil, trace the outline of the basket onto the cabinet floor. Remove the basket and use a power drill to create pilot holes within the traced outline. Then, reposition the basket and secure it in place using screws.
- Check for Stability: Once the basket is securely attached, give it a gentle shake to ensure it’s stable and properly anchored to the cabinet floor. Make any necessary adjustments to the screws to ensure a snug fit.
- Install Additional Shelves (Optional): Depending on the design of your corner basket kit, you may have the option to install additional shelves for increased storage capacity. Follow the manufacturer’s instructions to add these shelves as needed.
- Adjust Shelf Heights: If your corner basket kit includes adjustable shelves, take the time to adjust their heights according to your storage needs. This will allow you to customize the basket to accommodate items of various sizes.
- Organize Your Items: With the corner basket installed and shelves adjusted, it’s time to start organizing your kitchen essentials. Utilize the basket to store frequently used items such as spices, cooking oils, or canned goods, keeping them within easy reach.
- Enjoy Your Newly Organized Space: Step back and admire your handiwork! With the corner basket installed, you’ve effectively optimized your kitchen storage space and eliminated clutter. Say goodbye to digging through crowded cabinets and hello to a more efficient and organized kitchen.
Conclusion of Kitchen Corner Basket:
In conclusion, installing a kitchen corner basket is a straightforward DIY project that can yield significant benefits in terms of organization and efficiency. By following these 10 easy steps, you can transform a neglected corner cabinet into a functional storage solution that enhances the usability of your kitchen. So why wait? Get started on your kitchen organization journey today!

